6 Photoshop time savers for web designers
Like many web designers, Photoshop is my tool of preference when it comes to doing website mockups. As such, I spend a decent chunk of my time working with the program, and have picked up a number of techniques that speed up my workflow. I’m not talking about creating shiny image reflections, or beveled starbursts, but rather simple tricks that shave a few minutes off your working day so you can go home earlier.
1. Instant dotted lines
2. Scaling masked images
3. Non-destructive scaling
4. One-click selections
5. Quickly change a color scheme
6. Automate repetitive tasks
1. Instant dotted lines
For some unfathomable reason, Photoshop’s line tool doesn’t allow you to create dotted lines, which is a shame, because dotted lines are something web designers use with great frequency. To create a dotted line, you could use the pencil tool to draw each individual dot, but that would be painfully slow. A much more efficient technique is to use a pattern fill.
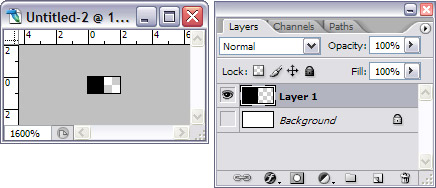
Step 1
Create a new 2×1 pixel Photoshop document, and hide the background layer. Create a new layer, and use the pencil tool to fill in one pixel.
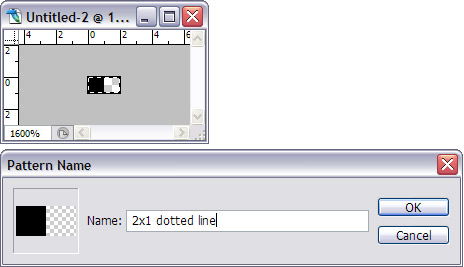
Step 2
Press Ctrl+A (Cmd+A on a Mac) to select the entire canvas, and choose Edit > Define Pattern. Give your new pattern the name ‘2×1 dotted line’ You can now close the Photoshop file.
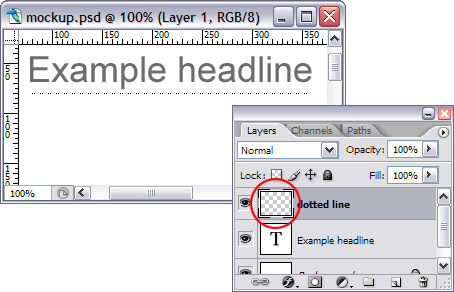
Step 3
To apply the pattern to a layout, create a new layer in your document and use the marquee tool to make a selection that is 1 pixel high and as wide as you want your dotted line.

Step 4
Choose Edit > Fill, and in the dialog that appears set the Contents to Pattern, and select the Custom Pattern you created earlier.
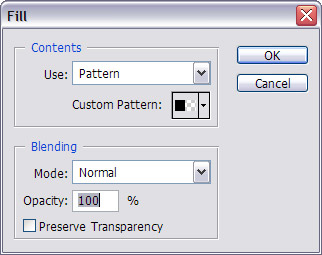
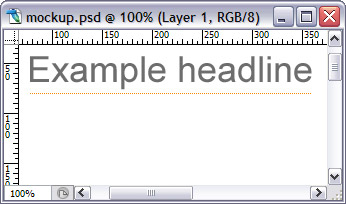
Your selection will be filled with the dotted line.

The great thing about this trick is that your patterns are stored for future Photoshop sessions, saving you even more time.
2. Scaling masked images
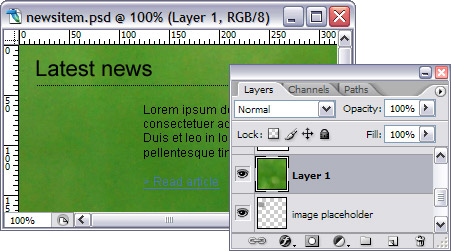
One thing almost every website layout requires is a couple of good old fashioned rectangular images. Often a layout requires several images cropped to the same dimensions, and resizing and cropping them individually is a pain in the backside. Thankfully Photoshop’s clipping masks give us a quick way of cropping images to fit a pre-defined space on the canvas.
Step 1
To begin, create a solid rectangular placeholder for your image.
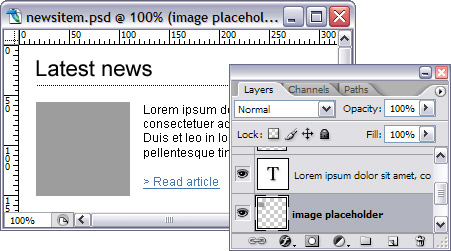
Step 2
Paste your unscaled image into a new layer above the placeholder.
Step 3
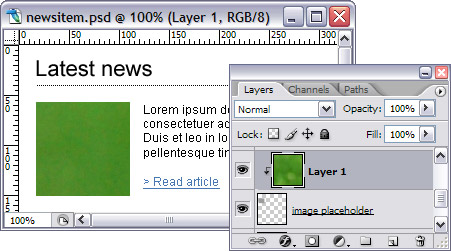
Right-click (Option-click on a Mac) on the image layer, and choose ‘Create Clipping Mask’. A mask the same shape as the placeholder layer will be applied to the image.
Step 4
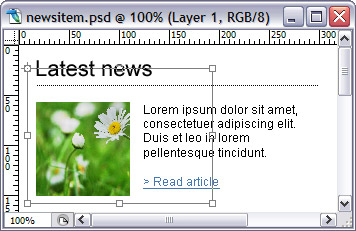
Now you can scale your image up or down in size by using the keyboard shortcut Ctrl+T (Cmd+T on a Mac) and dragging the transform handles, or move it around by clicking and dragging.
Step 5
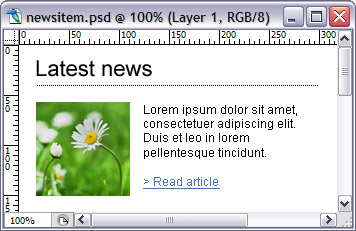
Once you are happy with the way the image is cropped by the mask, hit Enter to apply the transformation.
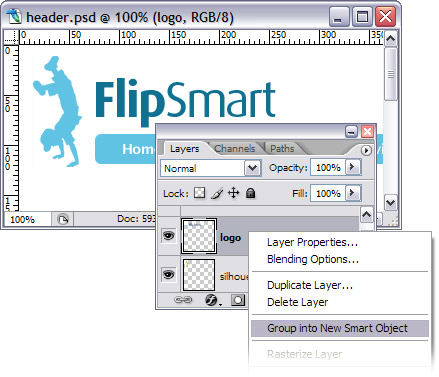
3. Non-destructive scaling
When creating a website layout I find myself obsessively increasing and decreasing the size of objects on the page, trying to strike the right visual balance. In older versions of Photoshop objects, scaling and object down, and then back up again would make destroy pixel information and make the image blurry. That’s where Photoshop CS2 comes in, with its ingenious ‘Smart Objects’.
Step 1
Any layer can be turned into a Smart Object by right-clicking (Option-clicking on a Mac) it and choosing ‘Group into New Smart Object’. Alternatively, paste an image or vector shape into your Photoshop document, and when prompted choose to paste as a Smart Object.
Step 2
The new Smart Object contains the layer’s original pixel (or vector) information, and can be transformed to your heart’s content without losing quality.
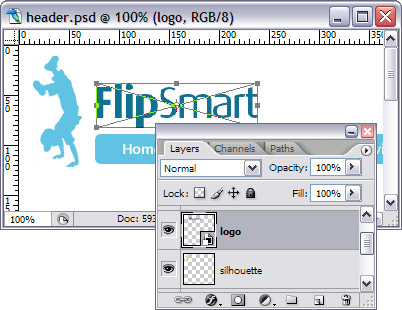
To release the Smart object, you need to rasterize its contents by right-clicking (Option-clicking on a Mac) its layer and choosing ‘Rasterize Layer’.
4. One-click selections
Being able to create a selection from a layer is extremely handy. Here is a real world example. Remember the dotted line from tip #1? Lets say we want to change its color from black to orange.
Step 1
Hold down Ctrl (Cmd on a Mac) and click the thumbnail of the layer containing the dotted line. This will create a selection from the layer.
Step 2
Set your foreground color to orange.

Step 3
Make sure the layer containing the dotted line is selected – if not, click on it. Now hit Alt+Delete (Opt+Delete on a Mac) to fill the selection with your foreground color.
There are many situations in which it can be useful to create selections from an existing layer, and all it takes is one click.
5. Quickly change a color scheme
Photoshop’s adjustment layers allow you to apply all the regular image adjustments – hue, saturation, color balance, etc – to an image without permanently modifying it. There are a myriad of different effects you can achieve using Photoshop adjustment layers, but I use them most frequently to change the color scheme of my mockups.
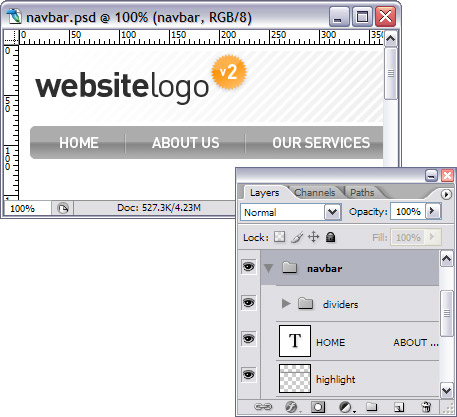
In this example, I have mocked up a nice shiny “web 2.0” style design. The only thing is, I’m not loving the monochromatic navigation bar, and I’d like to try out some other colors. Using an adjustment layer it is easy to experiment with different color schemes without altering the original layer.
Step 1
First of all, put the layers containing the artwork your want to colorize into a new folder, and set the folder blending mode to Normal. This is so that the adjustment layer will only affect the folder’s contents, not any layers below it.
Step 2
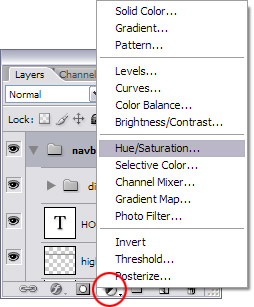
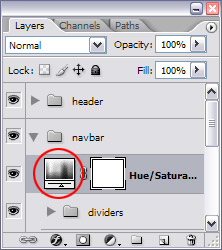
Select the folder, click the ‘Create new fill or adjustment layer’ icon at the bottom of the Layers palette, and choose ‘Hue/Saturation’.
Step 3
In the Hue/Saturation dialog box tick ‘Colorize’ and adjust the Hue, Saturation and Lightness values until you are happy with the color of the navigation bar. Click ‘OK’ to confirm the adjustments.

In future, you can double click the adjustment layer to open the dialog box and modify its values. This lets you experiment with different color schemes until the cows come home, all without altering the underying artwork.
6. Automate repetitive tasks
Web design often requires that we apply the same adjustments to a number of images. For example resizing a large number of images to use in a photo gallery, or converting them to grayscale. Rather than bore yourself to tears stepping through the same transformations for each and every image, you can record the steps in a Photoshop action, and apply them with a single click.
Step 1
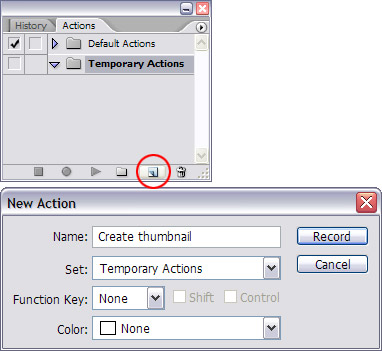
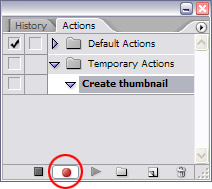
Lets say you want to create thumbnails of a bunch of images. Open your first image in Photoshop, then open the Actions palette by choosing Window > Actions. Click the ‘Create a new action’ icon at the bottom of the Actions palette, and give your action a name.
Step 2
Your action begins to record automatically. Every transformation you apply to your image will now be saved in the new action.
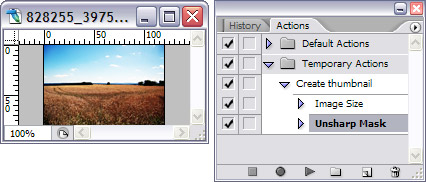
Step 3
Perform whatever transformations you like to the image. For this example choose Image > Image Size and resize your image to the dimension it needs to be for the photo gallery. Next choose Filter > Unsharp Mask and sharpen the image.
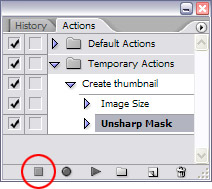
Step 4
Click the ‘Stop playing/recording’ icon at the bottom of the Actions palette. Your action is now ready to use.
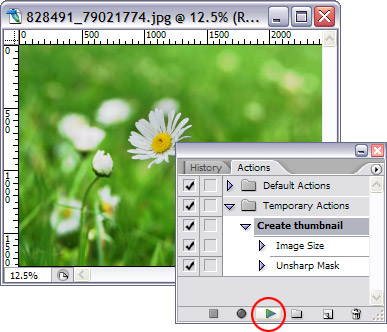
Step 5
To apply the same action to another image, open the image, select your new action in the Action palette, and click the ‘Play selection’ icon. Hey presto! The image is resized and sharpened.
Credits
Photos used in this article are by Simon Wuyts, and are available fromstock.xchng.
9 thoughts on “6 Photoshop time savers for web designers”
Comments are closed.
Kewl, will forward this onto my graphic designer who does my web layouts.
Thanks :)
Great list of tricks. I have added a link to this in my recent post about creating rounded corners on images in photoshop in an easy way.
this is kewl. i dont know many things thats listed here. thanks
Great tips – never new about the adjust layer feature. I’m sure it will be a time saver and time is money!
Fantastic tips! Especially #5, this would have helped me out numerous times in the past.
Great tips! Tip #1 is great for dotted lines, but I learned recently that U can also use the type tool to create dotted lines. Just change the pt size and font to your liking.
@Will – Nice. I had never thought of using the type tool to create dotted lines. But there are other handy things you can use the pattern fill for, such as diagonal striped lines, dashed lines, or any other repeating pattern.
Dotted lines can also be easily created with the pencil tool:
1. Select the Pencil tool and a desireable brush size (I like 2px)
2. Open the Brush Palette options dialog
3. Go to “Brush Tip Shape” on the left of the palette
4. Increase “Spacing” (bottom of ‘Brush Tip Shape’) to the desired amount (I prefer 350%)
5. Draw your line – it’s dotted.
TIp 1: Once you’ve found a dotted line you like, save this as a brush preset so it’s only 1 click away next time you need it. The saved brush will now appear in the brush palette as a brush option.
Tip 2: Experiment with the “Brush Tip Shape” options – adjust “Roundness” to 0 for a dash. Play with the angle settings for other ideas.
Brilliant! Love it!